Made a (RoMac) Macropad
A few months ago I wrote about making my first wireless keyboard. That was just a proof of concept that I disassembled right away. I then made another keyboard: the RoMac macropad. I've ordered a kit from 42keebs - apparently one of the very few keyboard-related shops that don't charge an arm and a leg to deliver to Europe. I chose this kit because it was cheap (~9€), compatible with the choc switches I wanted to try out (because they're less tall), and compatible with the Pro Micro-style controller.
The process was quite straightforward: I have just soldered on the controller sockets, diodes, the reset switch, then the keyboard switches. I went with the Kailh Chocolate Purple, very light linear switches. I like them.
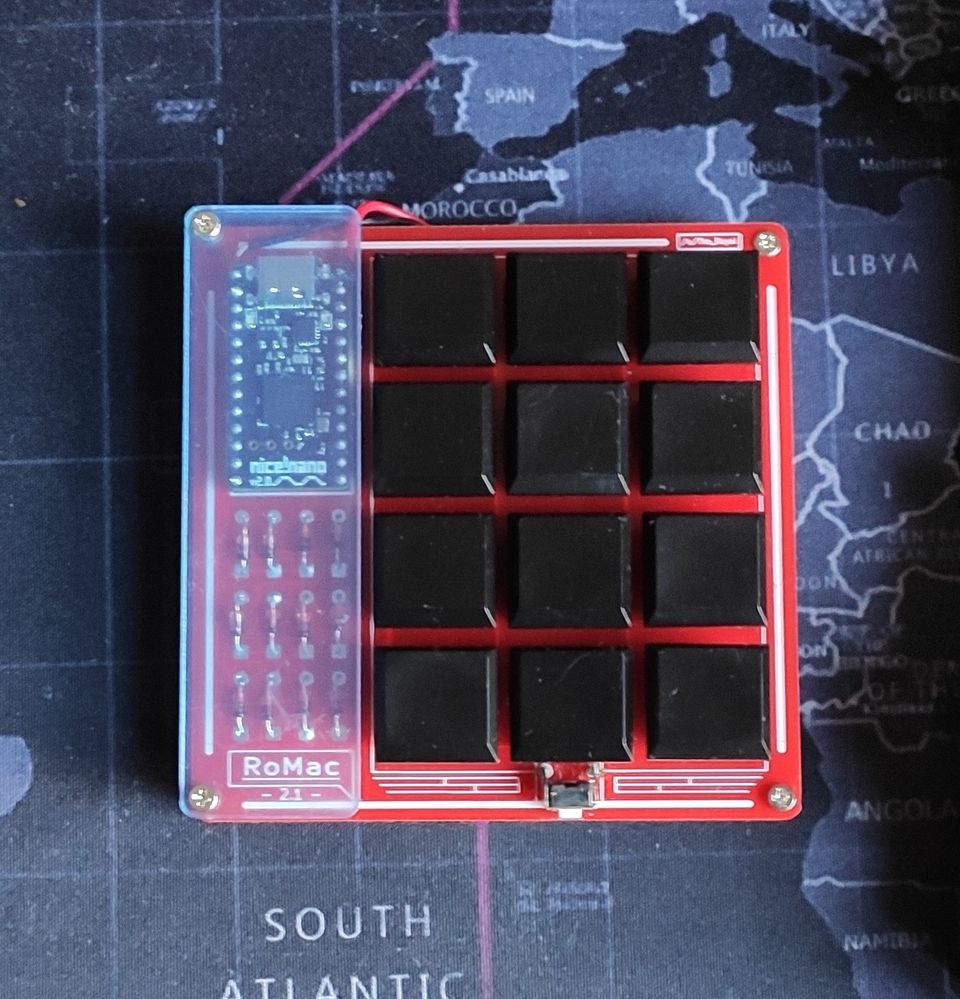
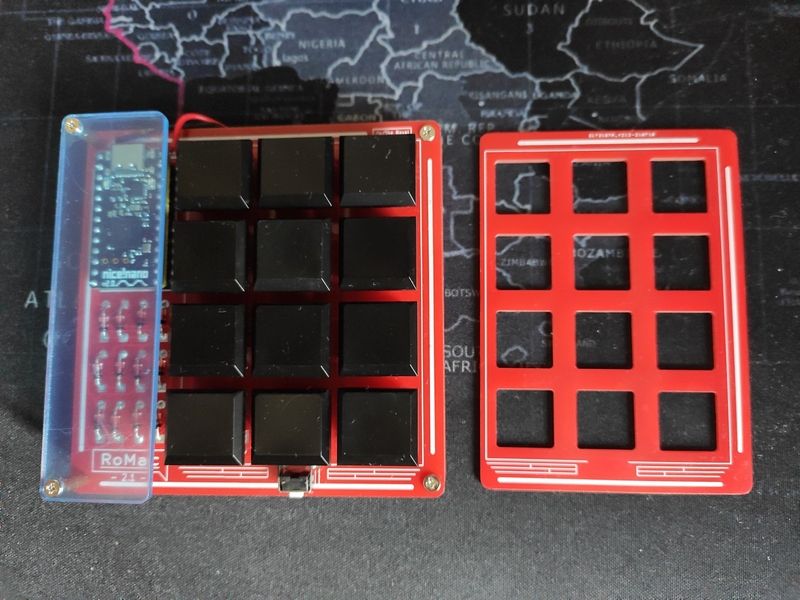
It ended up looking like this:
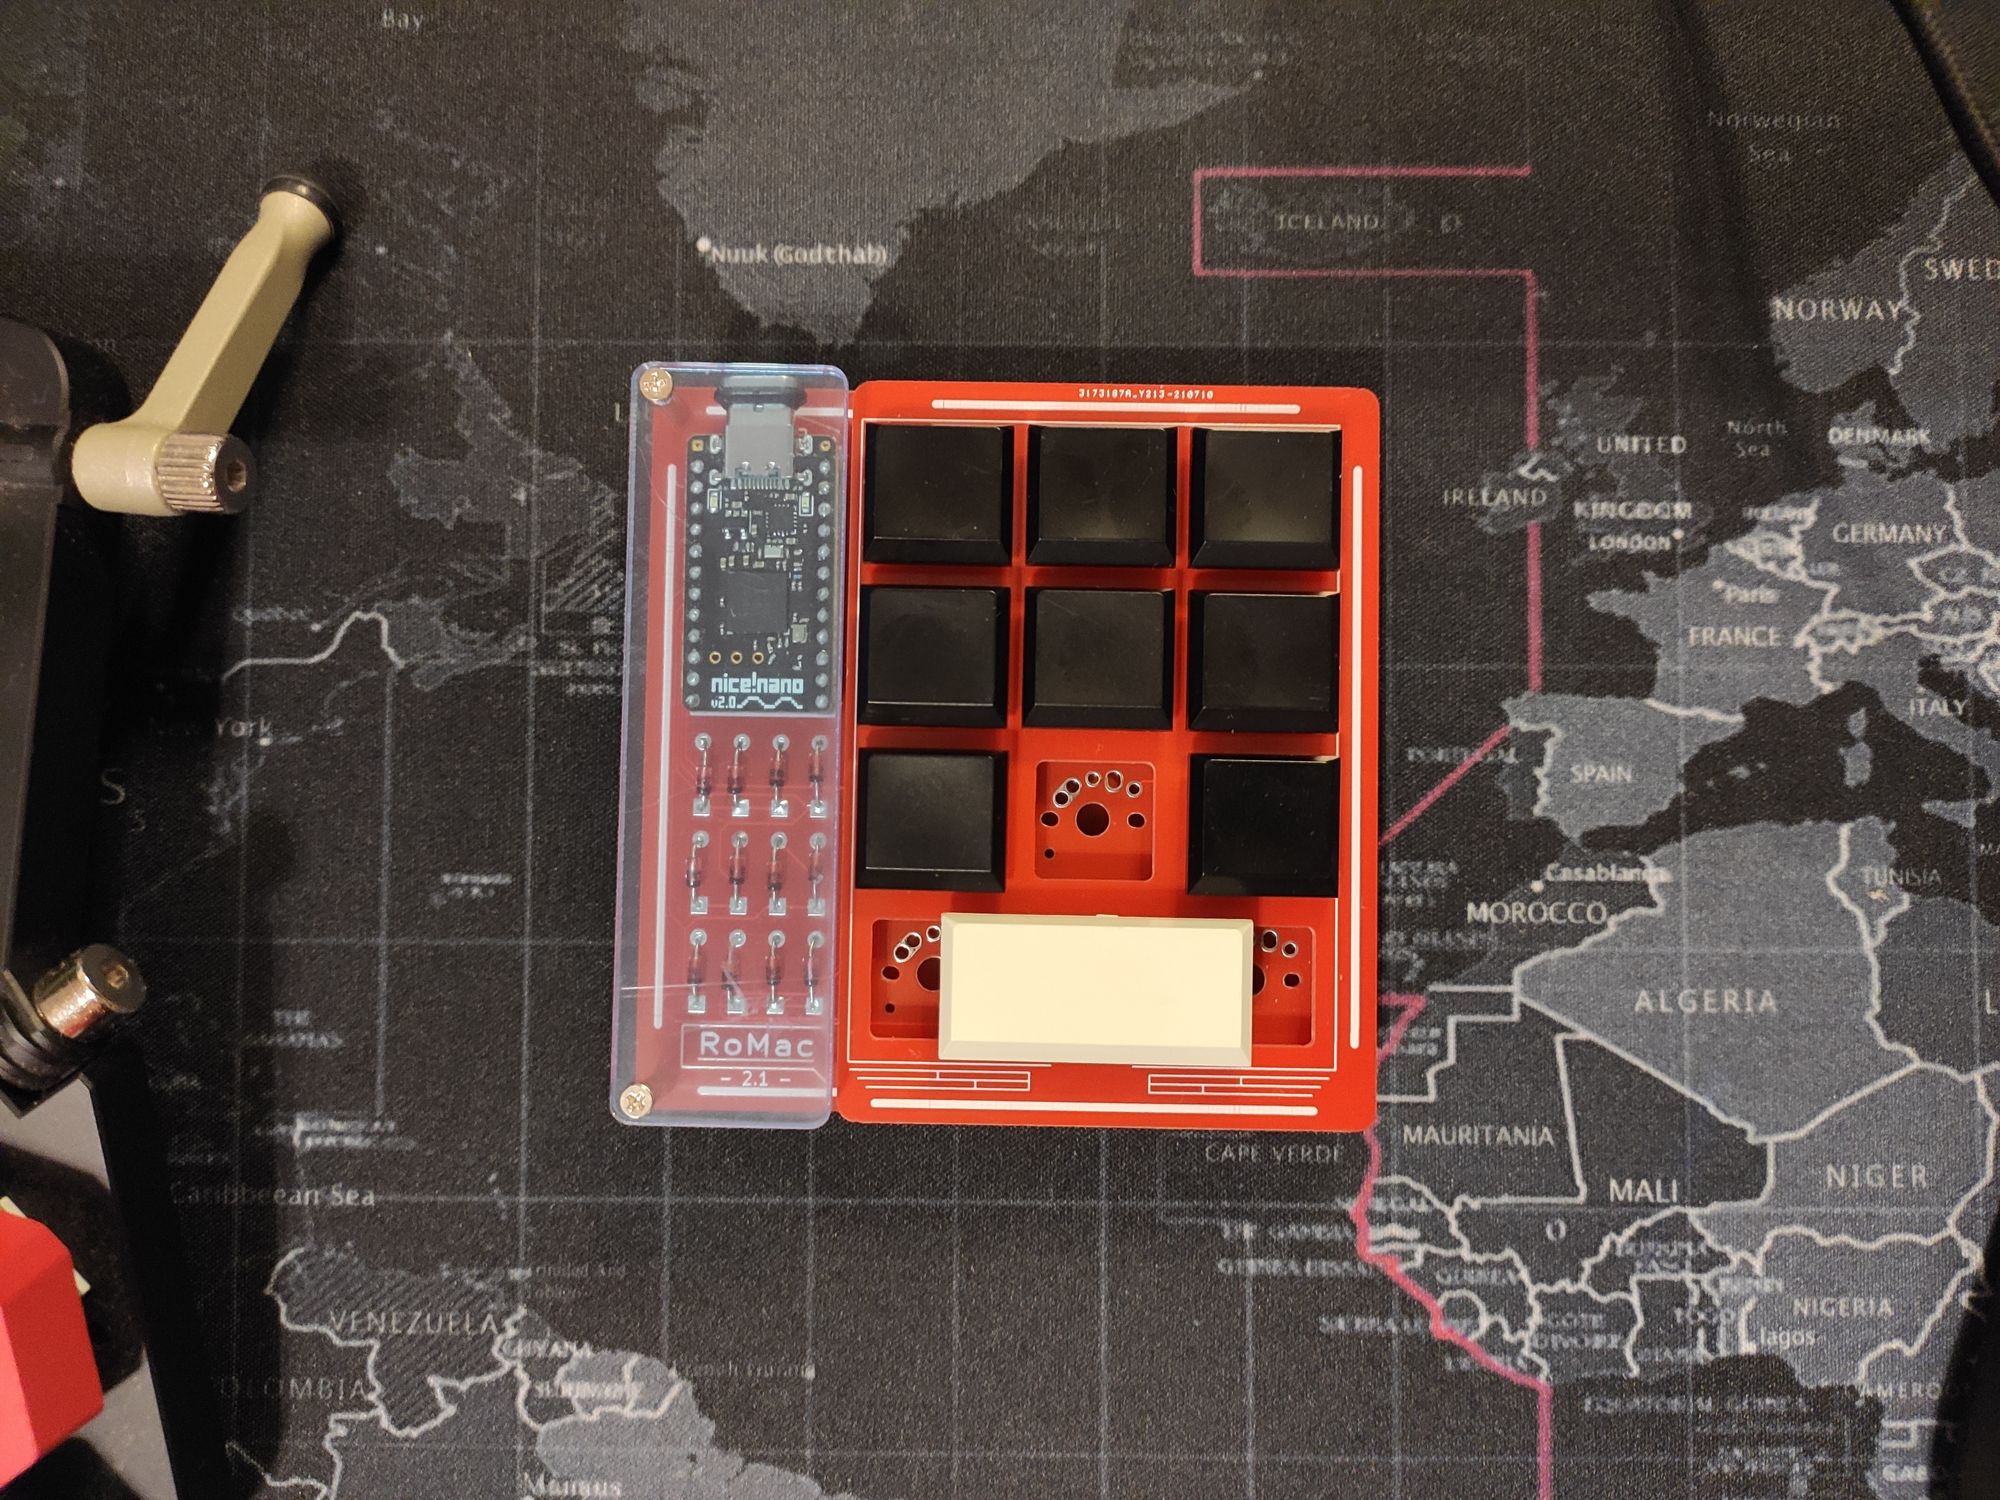
Of course, it was Very Definitely Intended to look this way, totally not because I didn't have enough switches.
Upgrades
The obvious "upgrade" was adding the three missing switches, which went without incident.
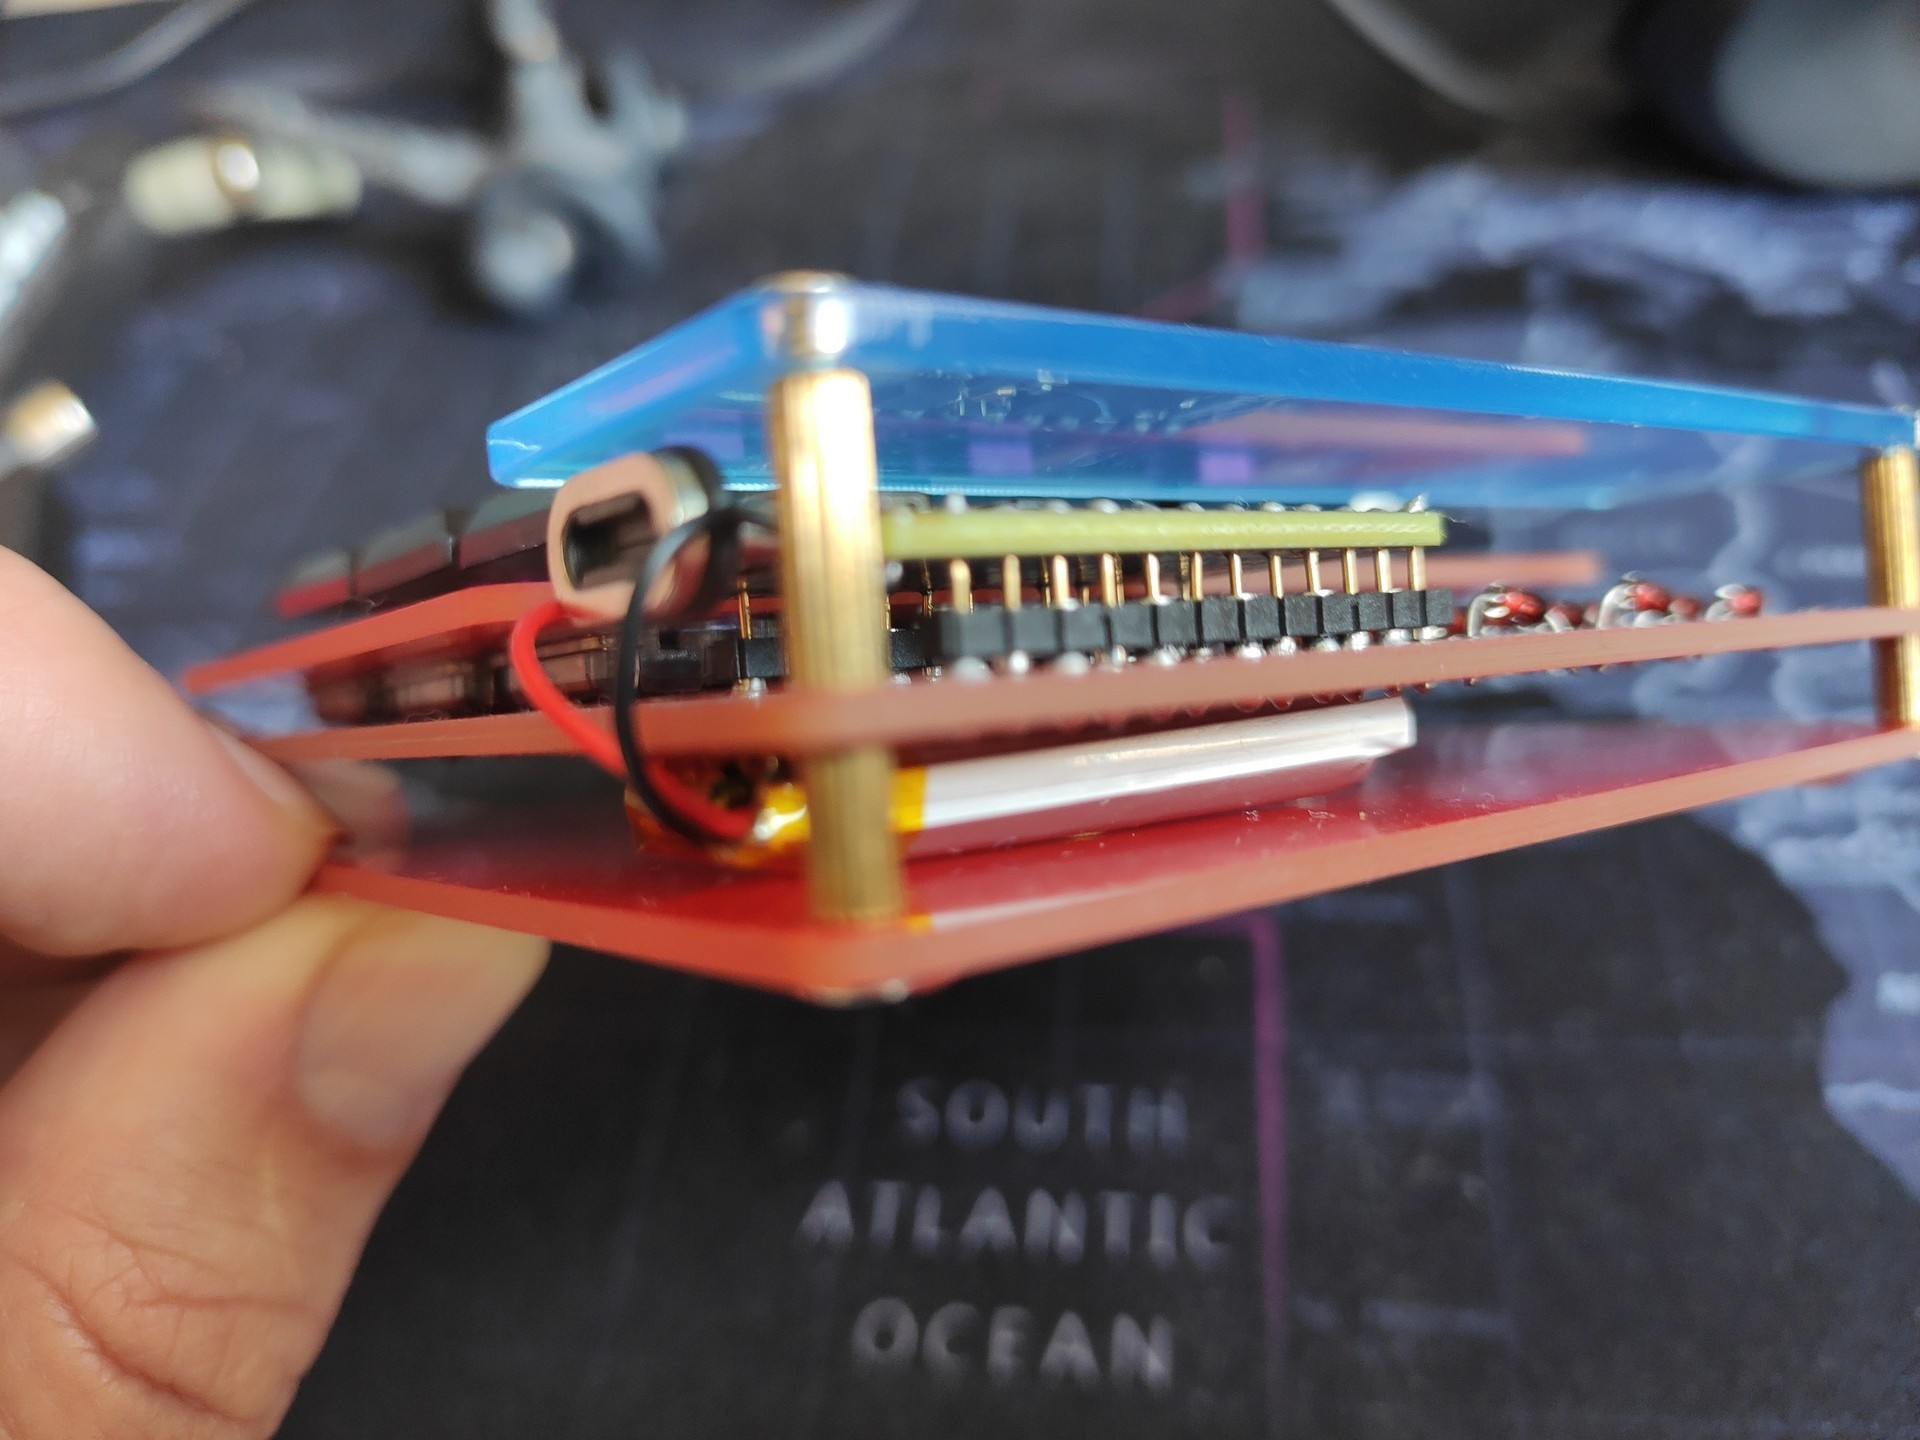
The other one was making it wireless. By itself, this kit supports no such thing. But the nice!nano v2 - the Pro Micro-compatible controller I'm using - does have that functionality. So I decided to solder a battery on and stick it under the main PCB.
This worked surprisingly well. I could use the keyboard both over USB and over Bluetooth. This started as a stepping-stone project, but I actually ended up using it.
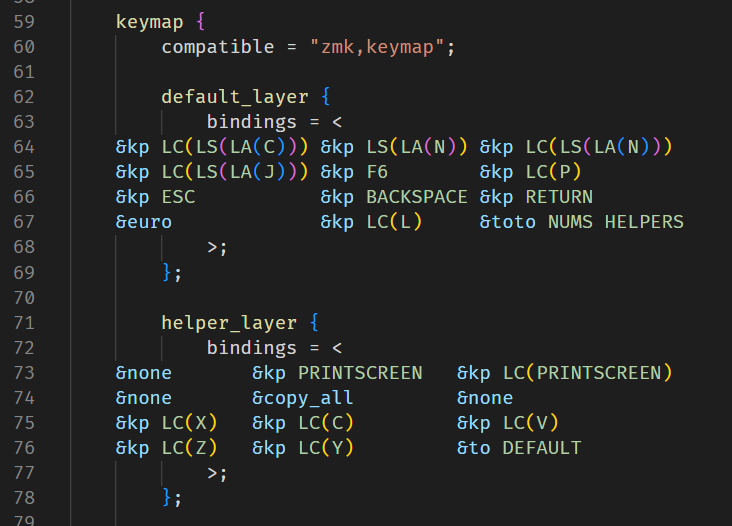
I have defined multiple layers of keys; the most important ones containing macros for Joplin, screenshotting, and copypasting.
Lessons learned
The first lesson was: the FR4 material is really tough. I had to grind away a bit of it when I wanted to try using the switch plate because the reset switch was just a little too tall.
I knew FR4 was supposed to be durable, but darn; that thing was really hard to sand off, even with an electric tool.
In the end, I decided to skip the switch plate entirely. It made very little visual difference, and I disliked how it sometimes wiggled when I hit the keys.
Then I really messed up. I tried removing the magnetic connector (seen in one of the pictures above) and tore off one of the flimsy battery leads. I will spare you the retelling of the two-week-long period of soldering and troubleshooting, but the gist of it is: the keypad worked only when plugged in via USB cable; and the battery didn't charge. With the help of the excellent folks in the ZMK Discord, I've found out that I probably shorted something out when fixing the multiple breaks in the battery leads; that fried the battery controller in the nice!nano, responsible for charging. That in turn killed the accumulator. And, after three days of use, the next accumulator I replaced it with.
This has happened some 3 months ago, and because of it, I have only used the macropad infrequently after that. It was impractical for me to use it in wired mode, I didn't have any more unfried accumulators, and I wouldn't want to risk my second nice!nano for this project anyway.
All in all, the project was a success: I do like the Choc switches, I can assemble at least some keyboard, the wireless mode is as good as it sounded. Knowing this, I could go ahead and make a bigger keyboard. But I should probably figure out a better way of connecting batteries to the controller. And I don't think I need to worry about breaking the plates.

Comments ()