Made my first wireless keyboard
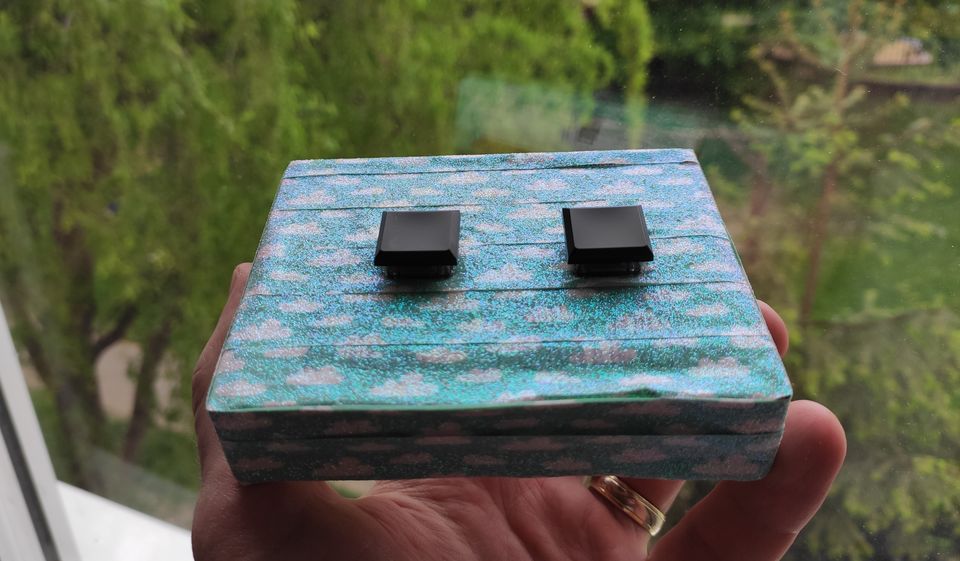
Call now, and get the Ultimate Keyboard™ with these features!
- An artisanal, hand-crafted keyboard
- Fully wireless
- Funky, metallic, glittery blue finish
- Carefully placed switches for maximum ergonomy
- Only the best, hand-picked letters for a clutter-free writing experience!
Get all of that and more for just 499.99€!
Okay, jokes aside: the thing in the picture really is a fully working wireless keyboard, compatible with computers and phones. And it only has the most important characters: a, h, l, o, and space.
If you've seen the previous blog posts, you might know I have the Moonlander keyboard and I'm satisfied with it. Why bother with this, then?
Well, the short story goes like this. I, too, wondered why would I ever want to build a keyboard on my own. Then I actually went physically into the office once, instead of working from home, and found I now have a new dislike for writing on the five-euro keyboards we have at work, as well as the one on my notebook. So the next time I brought my Moonlander with me. I normally use the tenting features on it, but I didn't bother setting it up for just a day in the office. I also found the wrist supports don't really fit on my work table well.
So next time I left the supports at home. After working with this pared-down Moonlander a few times, I have been getting more and more annoyed with having to always screw, unscrew, detach and attach things before I leave and when I get home. So I thought a more portable, fully wireless keyboard might indeed be nice for working outside the home, while also letting me type on my phone. (Which Moonlander really can't do.) Also, even if I could buy my ideal keyboard somewhere, there's no way I'm spending that much money on a keyboard again.
So after some months, I have started thinking about it more seriously. I did as I usually do when starting a project in an area I'm unfamiliar with: I have thought about what the end product should be and what it should do. When I had a pretty decent idea, I thought about what could go wrong and used that to come up with a smaller, simpler project to do first.
I thought - hey, why not build a macropad first? That would be a working keyboard, could be wireless, but I don't have to troubleshoot two separate halves in case something goes awry.

Then I thought about what could go wrong with that. I'll spare you the details, but I ended up deciding to build a keyboard with just one or two keys and wire it up directly, without a PCB, into a cardboard box. Someone told me the easiest thing to do is to use the already-available ZMK firmware for a keyboard with 2 keys, and just wire to the leads it's using. So that's what I did.
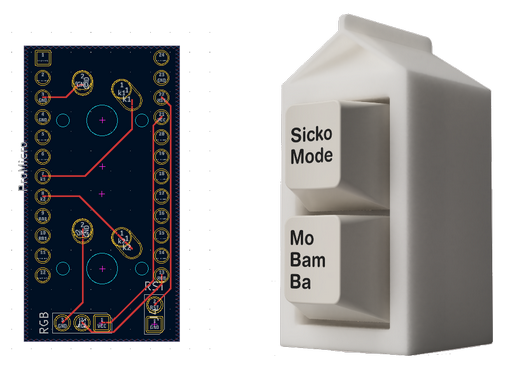
Amazingly, the 2-key keyboard design mentioned above is called "2% Milk". It obviously is an instance of someone having a genius idea and running with it. This is the original PCB design and the finished keyboard as depicted here.
It went mostly fine. I had a few hiccups, but nothing too serious. And thanks to the awesome people in ZMK's Discord who solved my firmware-related problems within minutes.
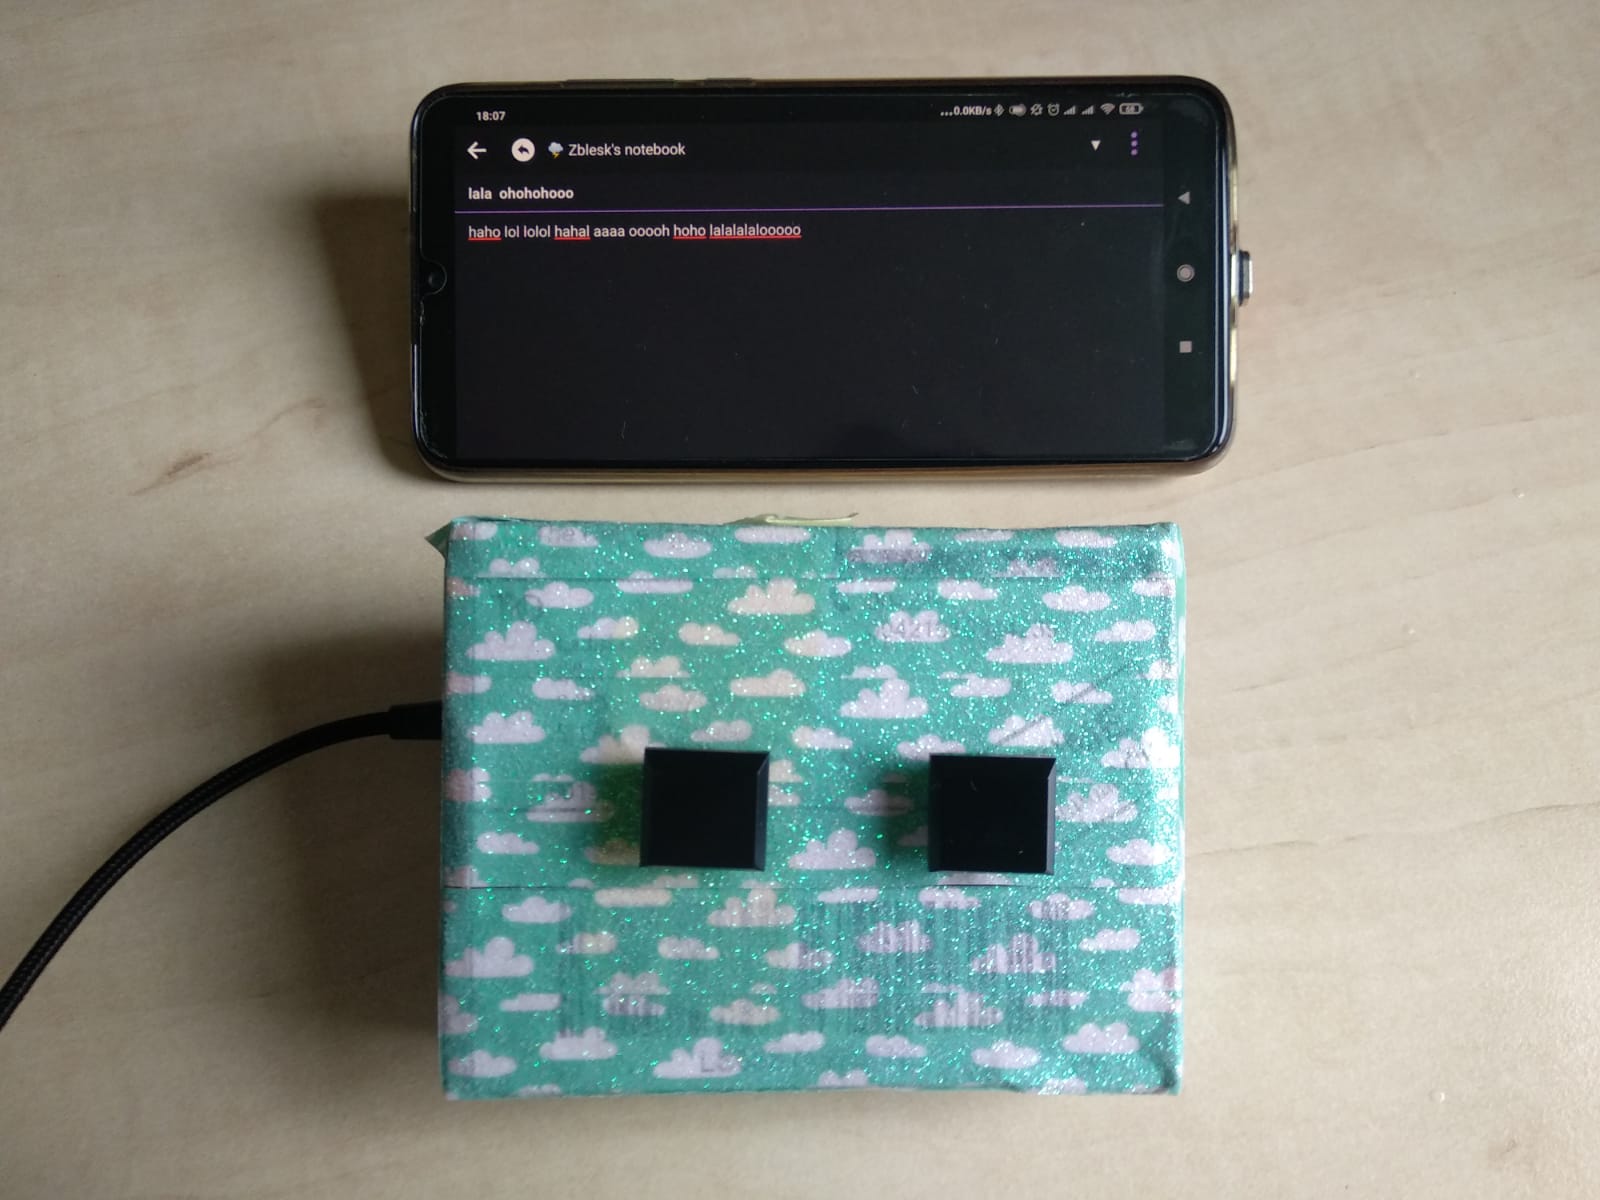
It was a fun little project to make and I'm happy with the result. Next time: a macropad.
Update: Someone asked what was this for. I guess I could have made that clearer. So, the entire point of the exercise was to find out if I can make a working keyboard. It was just a proof-of-concept for me, to see that I can get both the hardware and the software working. This specific keyboard was already torn down into parts, all of which will be reused in the next project.
That being said, it apparently is possible to make a fully working keyboard you could write anything on with just two buttons; Ben Vallack does just that, here. If I wanted, I could make the same thing work with mine, but for me that wasn't the point. 🙂
Comments ()