Made a Reviung5 macropad
My first attempt at a fully-functional, tiny, wireless keyboard - the RoMac macropad - was more or less successful and I started to look for a kit for a bigger keyboard. While I'd been doing that, I stumbled upon a kit for Reviung5 - a tiny, 5-key macropad. It looked really charming and supported an encoder, which I always wanted to try.
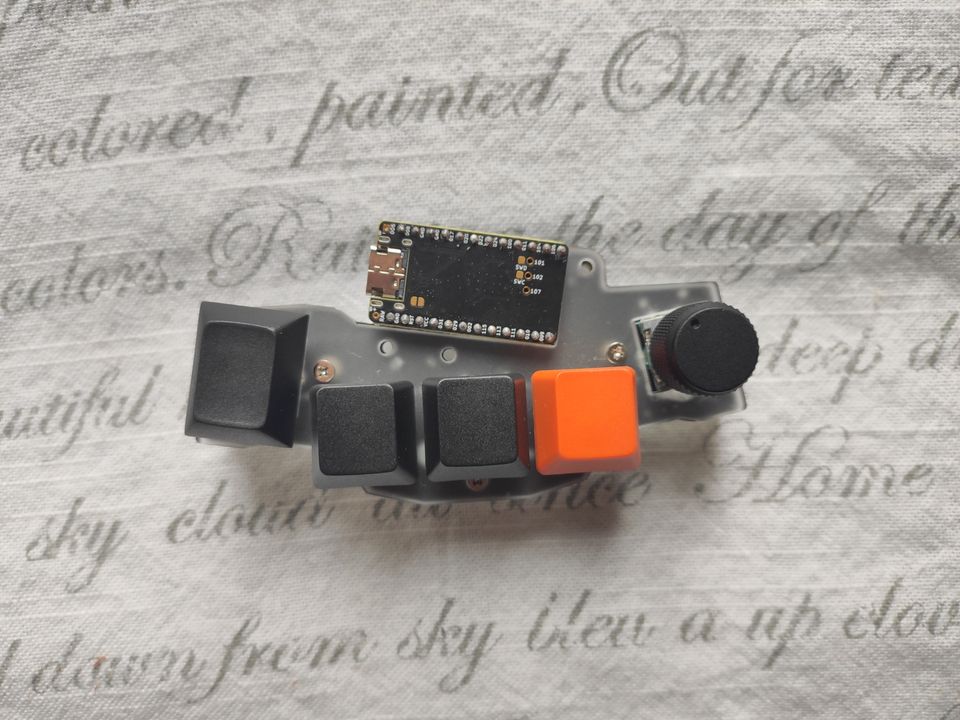
I thought - hey, this might be really cool for media controls! The middle three buttons could be ⏪ rewind/ ⏸ pause/ ⏩ forward, with the rotary encoder on the right serving for volume 🔊 up/ 🔉 down on rotation, and mute 🔇 when pressed. (With the leftmost button reserved for bluetooth control.) So I went ahead and ordered one from 42keebs.
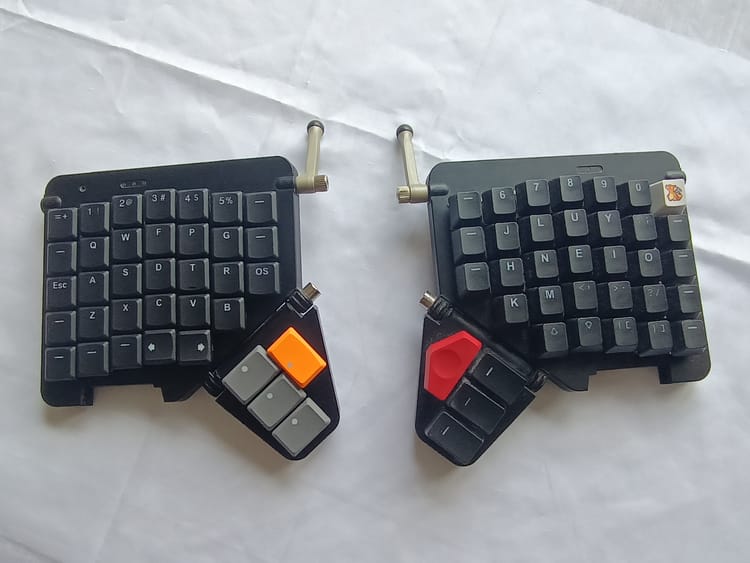
I have also bought two sets of keycaps - the black on orange combo you see in the header picture, and black metal ones. I ended up using the metal ones - they feel nice and go well with the black encoder knob.
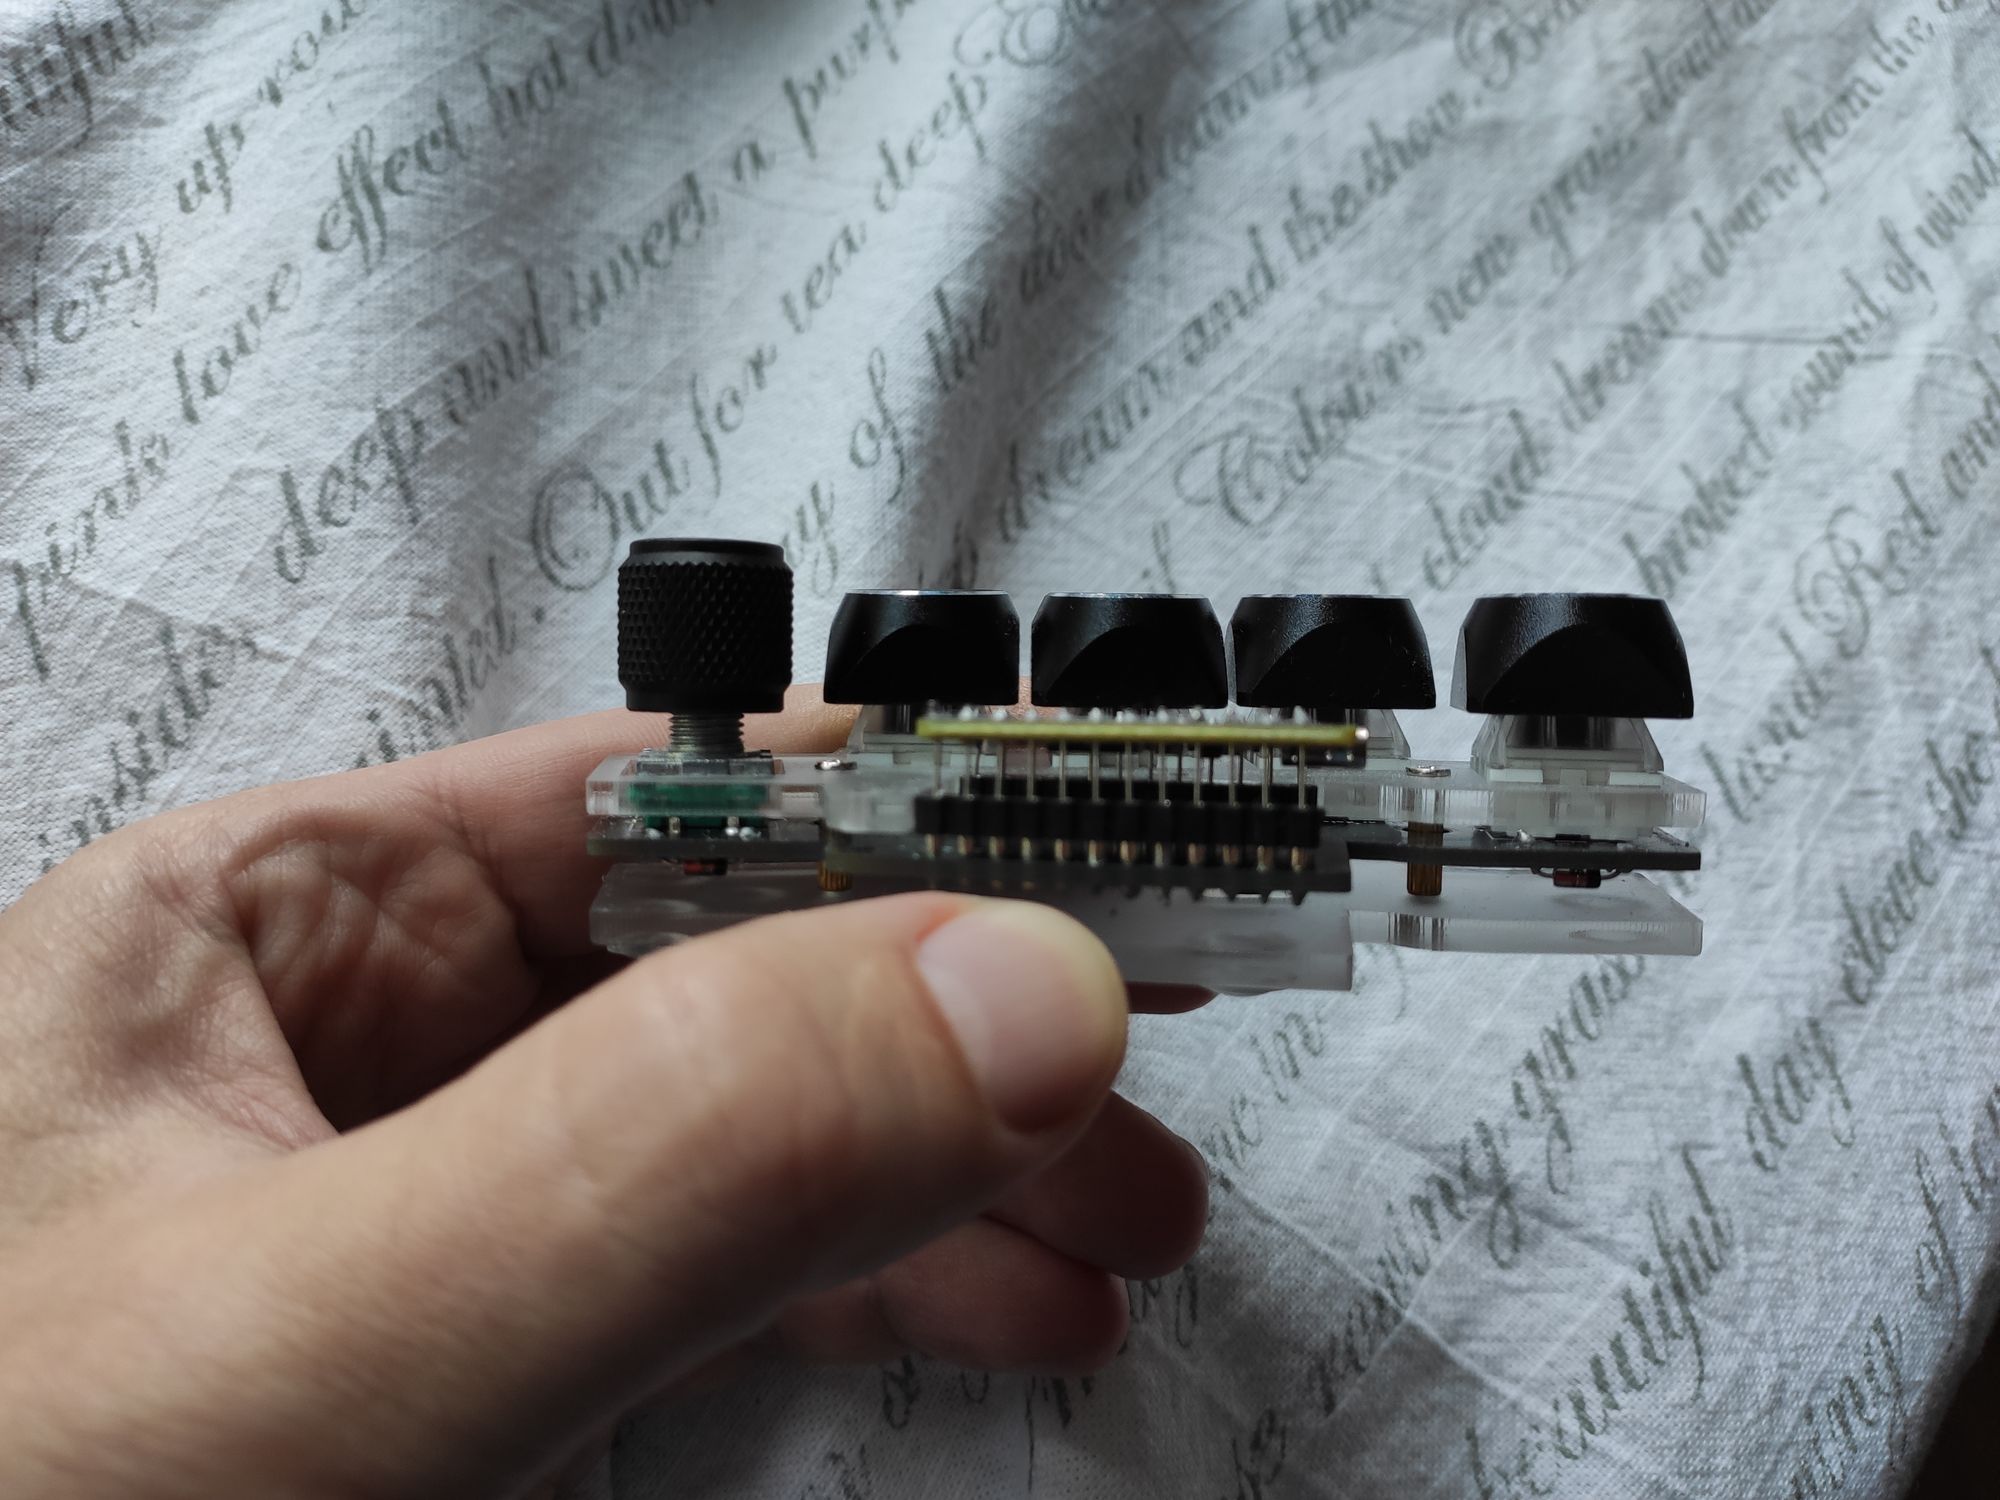
This is what it looks like from the side. The controller is on such tall legs because I want to place a battery under it. That's not normally supported - by default the Reviung5 kit only supports wired operation. (On the other hand - it does support RGB underglow, but I won't be adding that because I want to preserve the battery life.)
It turns out I overlooked one important part - there is no ZMK-compatible firmware for this board. (The original FW uses QMK, which doesn't support bluetooth.) It "just worked" for the RoMac, so it hadn't even occurred to me to check. 😅 I have eventually gotten it to work, after some issues with the encoder. (Update: My PR was merged and now it is directly in the ZMK. Yay!)
Next step: making it wireless. The board is designed to use the Pro Micro controller. I have replaced it with the nice!nano v2, which is pin-compatible, but also handles bluetooth and has extra pins for adding a battery.
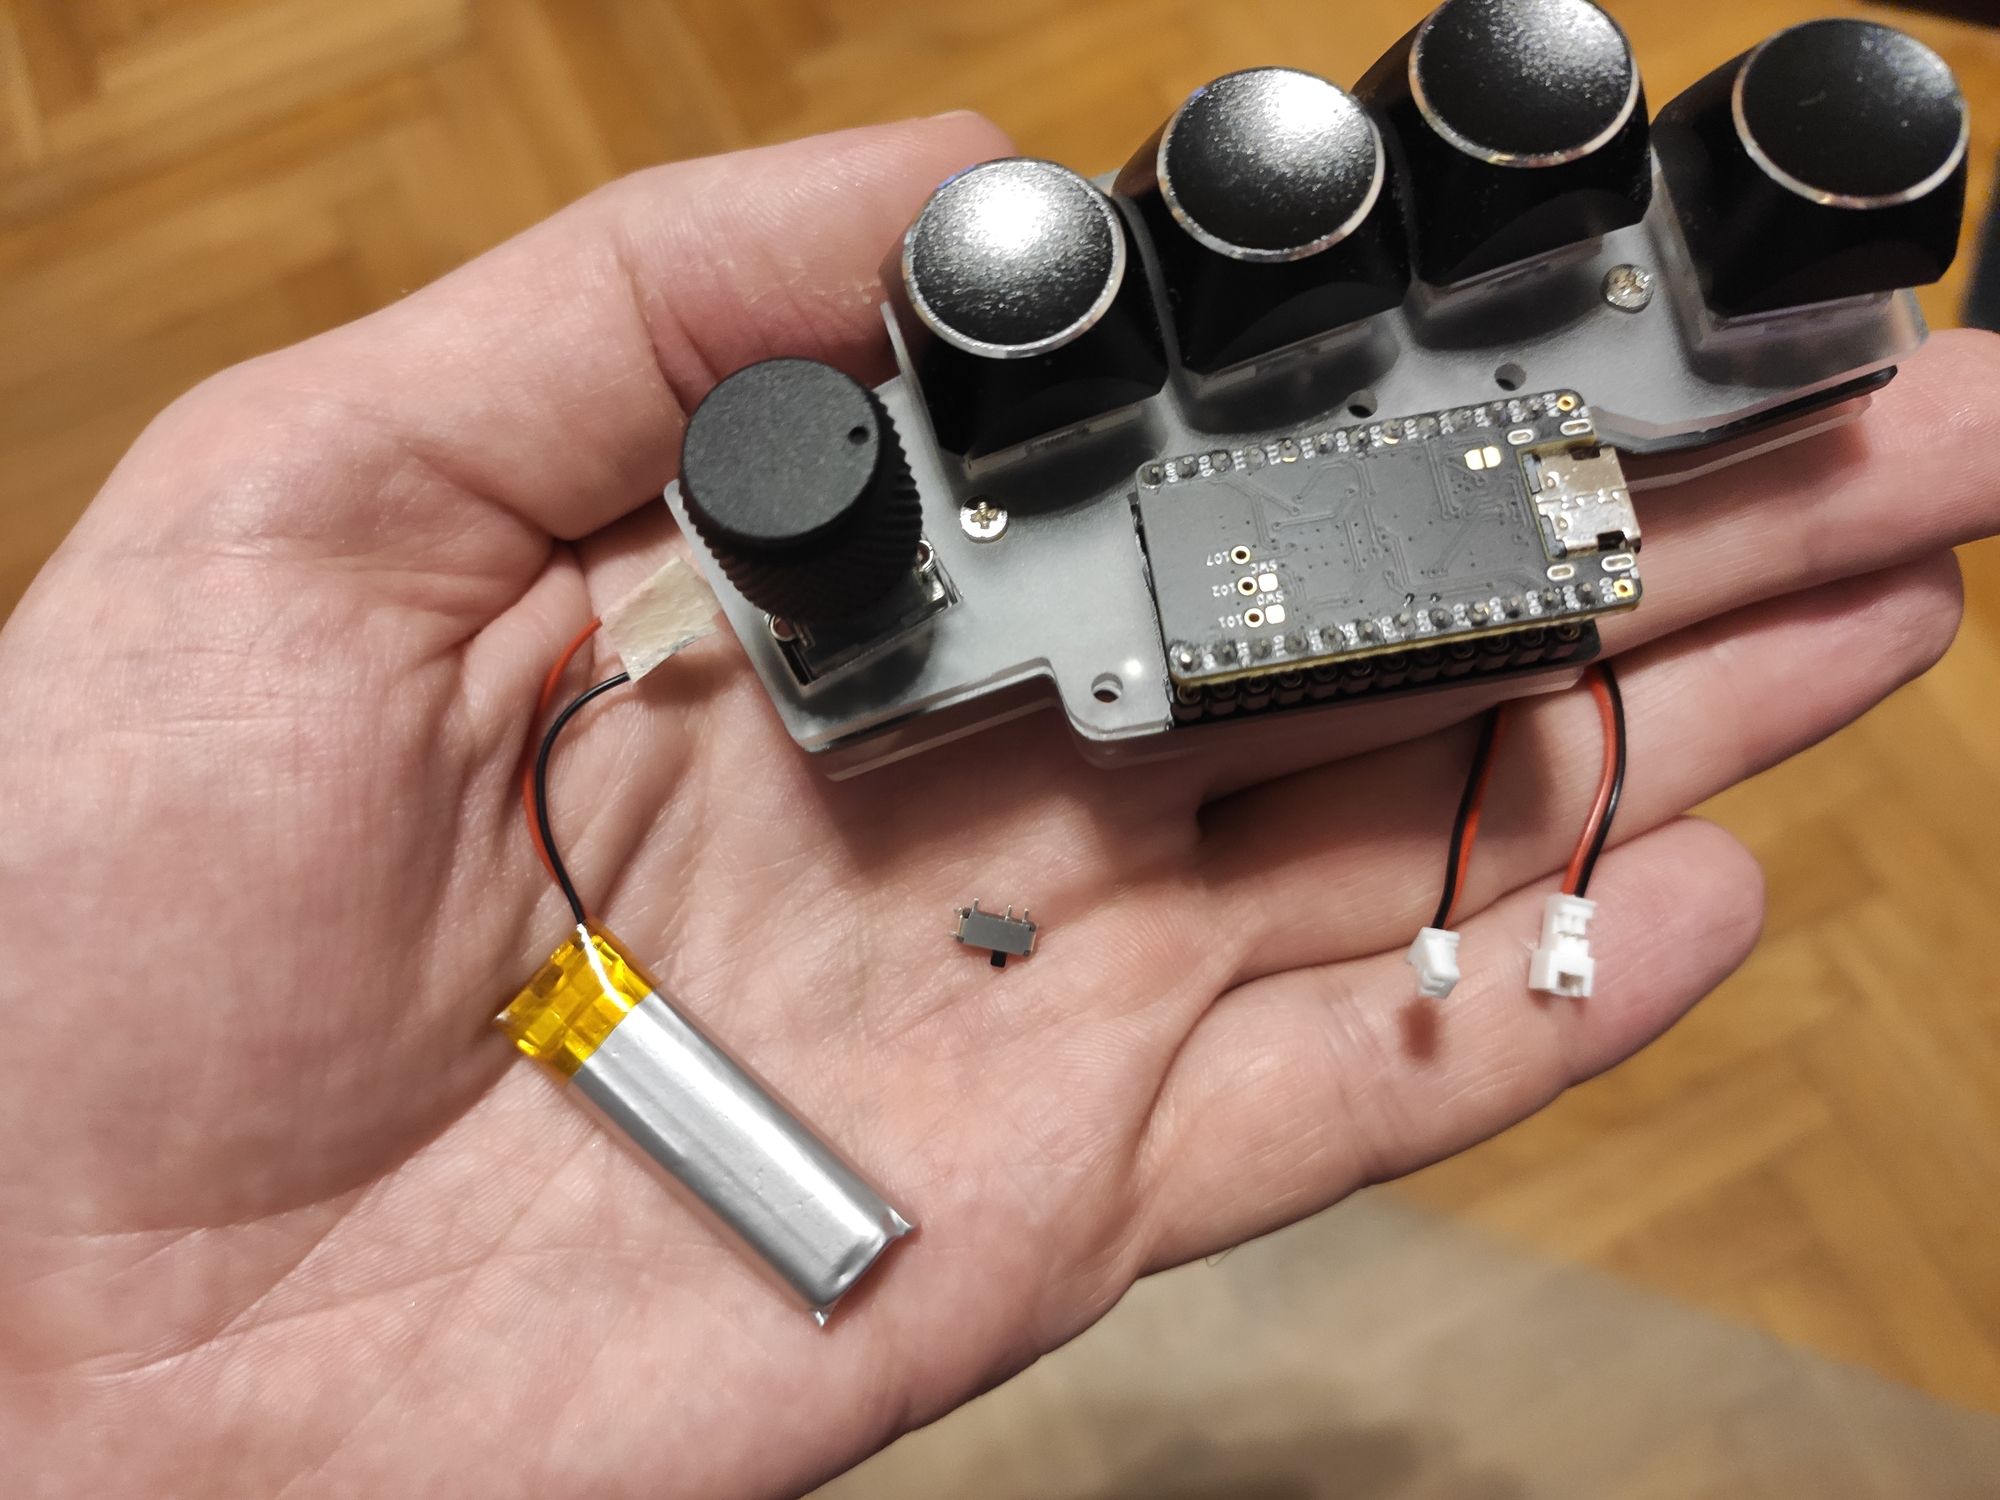
The kit also has an acrylic cover to protect the controller, but it's not tall enough to cover the added height of the battery. I will add taller standoffs... eventually.
This is what it ended up looking like: you can barely see the extra wiring.

It works like a charm. I'm very happy with how it turned out. It's a joy to use, and I really like the tactility of the encoder.
In my experience, when wireless devices aren't used for a while and go to sleep to preserve battery, there is a bit of lag when they wake up. I'm surprised to find there is none of that here: the input is registered immediately, even when I have not touched the device for twelve hours before.
The battery life is... I don't actually know yet. The 300mAh battery has worked for a week on a single charge so far, so we'll see how long it'll last.
I'm considering one more upgrade: a magnet for the bottom plate. That would let me stick it to places and keep it out of the way when I'm carrying it around the house. 🤔🧲

Comments ()